Submitting an Express Direct Retro Request in OneUSG Connect

   Overview   

The purpose of the Express Direct Retro (EDR) is to reallocate funding that has been distributed by GL.

In this article, you will learn the steps to submit an Express Direct Retro request in OneUSG Connect to reallocate funding distributed by GL.

1. Step 1

step image

First, log into OneUSG Connect.

From the OneUGS Connect Manager Self Service homepage, click the Retro Distribution Request tile.

2. Step 2

step image

The Retro Distribution Request page is displayed. On this page, you will search for the funding distribution (or payment) that you need to reallocate.

Click the Retro Option dropdown list.

3. Step 3

step image

Currently EDRs are broken down into Earnings Only and Fringe Only. To redistribute all expenditures on a paycheck, you will need to do two Express Direct Retro requests - one for earnings and one for fringe.

From the dropdown list, choose the appropriate Retro Option.   

Example shown here: F (Fringe Only) item.

4. Step 4

step image

Enter the appropriate information into the displayed search field(s).

Note: You must enter Position or Employee ID. However, it is recommended that other field values are entered to narrow the search.   

Example shown here: " 40000098 " in the Position field.

5. Step 5

step image

Once you enter the first two numbers in the Position field, a dropdown list displays with a list of search results. From the dropdown list, click to select the appropriate Position Number.   

Example shown here: Position Number " 40000098 ".

6. Step 6

step image

Click the Search button.

7. Step 7

step image

Distributions that meet your search criteria are displayed beneath the search fields.

Any pending transactions for this employee will display at the bottom of the page in a section called Search-Existing .

Example shown here: there are no pending transactions.

8. Step 8

step image

Click the appropriate box(es) to select the check(s) for which you would like to complete an Express Direct Retro request.

Note: Multiple checks can be selected; however, redistributing all expenditures on multiple checks will still require two EDRs: one to move the earnings on multiple checks, another to move the fringe on multiple checks.

If an EDR is pending approval, this will display as a locked transaction and will not be selectable.

9. Step 9

step image

With the checkbox(es) selected, click the  Next >>  button.

Note : Clicking Next will generate a transaction ID and the transaction is locked. The EDR lock is specific to the employee and paycheck.

10. Step 10

step image

The Retro Distribution Request page is displayed with the criteria for the retro(s) displayed at the top of the screen, including the new Transaction ID and the HR department (Deptid).  

11. Step 11

step image

The selected distributions are displayed in the Current Distribution section of the page. Click the right expansion arrow to view the entire chartstring, combo code description, account code description, employee name and position description if needed.

12. Step 12

step image

Scroll down if needed to view the New Distribution section. Here, you can edit the distribution information, including the chartstrings and amounts.

13. Step 13

step image

If necessary, scroll to the right to view the rest of the page.

Note : For each line number of the EDR, the revised amount(s) must total the original amount. 

To update the combo code for a transaction, click the appropriate Chartfield Details button.

14. Step 14

step image

A pop-up window is displayed.

Enter the new combo code in the  Combination Code  field. You can enter the beginning of any combo code and a dropdown list of matching results will appear as you type.

Example shown here: " 1819040ROM1001 " in the Combination Code field.

15. Step 15

step image

You can also edit the populated ChartFields individually as needed for your search.

When you are ready, click the Ok button.

16. Step 16

step image

Enter the Revised Amount in dollars and cents, if applicable, that needs to be moved to the new combo code.

Note: If the entire original amount should be charged to the new combo code, no change to the amount field is needed.

17. Step 17

step image

If the original amount should be charged to multiple new combo codes, click the [+] button to the right of the revised amount field to add a new row.

On the new row, choose the appropriate new combo code and dollar amount to be charged to the new combo code. The revised amount must not exceed the original amount.

Again, for each line number of the EDR, the revised amount(s) must total the original amount.

18. Step 18

step image

Continue editing the ChartField Details and/or Revised Amounts for additional rows as needed.

19. Step 19

step image

After entering the New Distribution information, scroll down to view additional fields.

Supporting documentation may be attached to the Express Direct Retro transaction by clicking the Attach button.

Note: For cost transfers involving Sponsored Projects/Awards, the Cost Transfer Justification Form must be completed and attached.

20. Step 20

step image

When submitting an Express Direct Retro, a Cost Transfer Justification is required. Click the dropdown list then choose the appropriate justification.  

Example shown here: Clerical option.

21. Step 21

step image

Enter additional information into the Comments  field, if desired.  

Example shown here: " Correct earnings distribution " in the comments field.

22. Step 22

step image

If you need to save the request to complete later, click the Save Ad Hoc button. Users can click the Save Ad Hoc button at any point in the transaction.

Note : Any saved transaction that has not been submitted through workflow will be deleted after 5 days .  

23. Step 23

step image

When you are ready, click the Submit button.

24. Step 24

step image

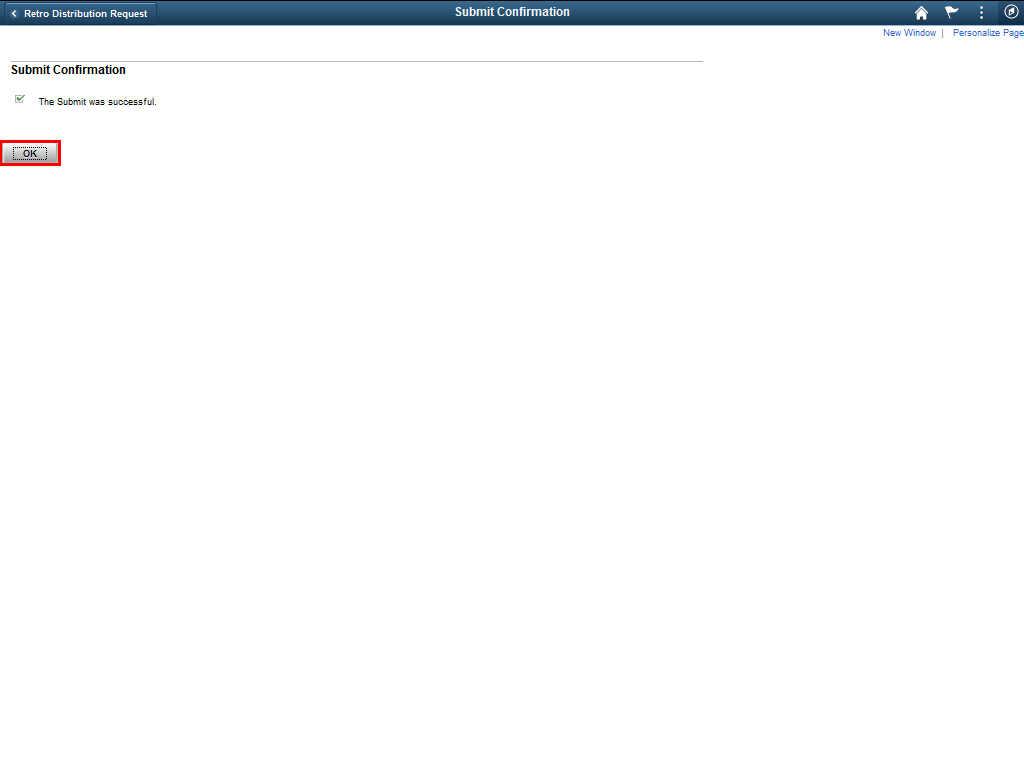
The Submit Confirmation page is displayed, confirming that the created Express Direct Retro Request was successfully submitted.

To confirm the submission, click the OK button.

Additional Information:

Separate EDRs should be submitted for Earnings vs Fringe funding. Multiple paychecks can be moved at once, but earnings and fringe should still be moved separately.

Sponsored projects requests require an attached Cost Transfer Justification Form. 

If you meet any of the following scenarios, you will need to submit an Express Direct Retro Payroll Request to Commitment Accounting to process the retro on your behalf using the TeamDynamix form HERE:

  1. Prior Fiscal Year Payroll Expenditures:

    Payroll expenditures from a prior fiscal year that need to be transferred on to / off of a restricted grant or project. The completed cost transfer justification form should be attached to the request.


  2. Amounts paid out under retiree position R1800001:

    Current fiscal year vacation pay-out or other payroll expenses paid out under the retiree position number R1800001.

    .

  3. Credit Amounts:

    Current fiscal year payroll expenditure credits that need to be transferred to a different combination code.


  4. Account Code Change:
     

Current fiscal year payroll expenses that should be charged to a different payroll expense account code.

Related Resources

Express Direct Retros Quick Start

Cost Transfer Justification Form

Cost Transfer Justification Quick Reference Guide

Express Direct Retro Payroll Request Form (only if meeting one of the four scenarios described at the link)