Overview
Budget Transfers are a type of Budget Journal that moves budget from one chartstring to another, and therefore must net to $0.
This type entry can also be entered through the Budget Journal pages. It is best practice to use the Budget Journal pages exclusively, as it makes approvals and finding transactions easier. If a large volume of entries are needed, the Budget Journal Spreadsheet uploader may be a better option.
Budget journals or transfers dated within the month being closed must have a valid budget check status and must reach Commitment Management for final approval by noon on the first business day of the following month. Any budget journals or transfers dated within the prior month not meeting this deadline will be deleted after noon on the second business day of the following month. If the transaction is still needed, the Initiator should copy the budget journal or transfer to the new month. Budget transactions can be copied into the following month as early as the last week of the month.
You are returned to the Budget Lines tab. In this article, you will learn the steps to create a journal to transfer a budget from one ChartField to another using tools within the UGA Financial Management System.
These pages can also be accessed from the Business Management WorkCenter.
 |
First, log into UGA Financial Management System
The pages to create a budget transfer are found on the Classic menu.
On the Employee Self Service homepage, click the Classic Home tile.
|
|
 |
Navigate to the Enter Budget Transfer page by selecting:
Main Menu > Commitment Control > Budget Journals > Enter Budget Transfer
These pages can also be accessed from the Business Management WorkCenter.
Click the Enter Budget Transfer link.
|
|
 |
The business unit, journal ID, and Journal Date will be shown. Enter the appropriate information.
Note: 18000 is the Business Unit assigned to the University of Georgia.
Leave the default of "NEXT" as the Journal ID. This allows the system to assign the next unused number when you save the transaction.
Click the Add tab.
|
|
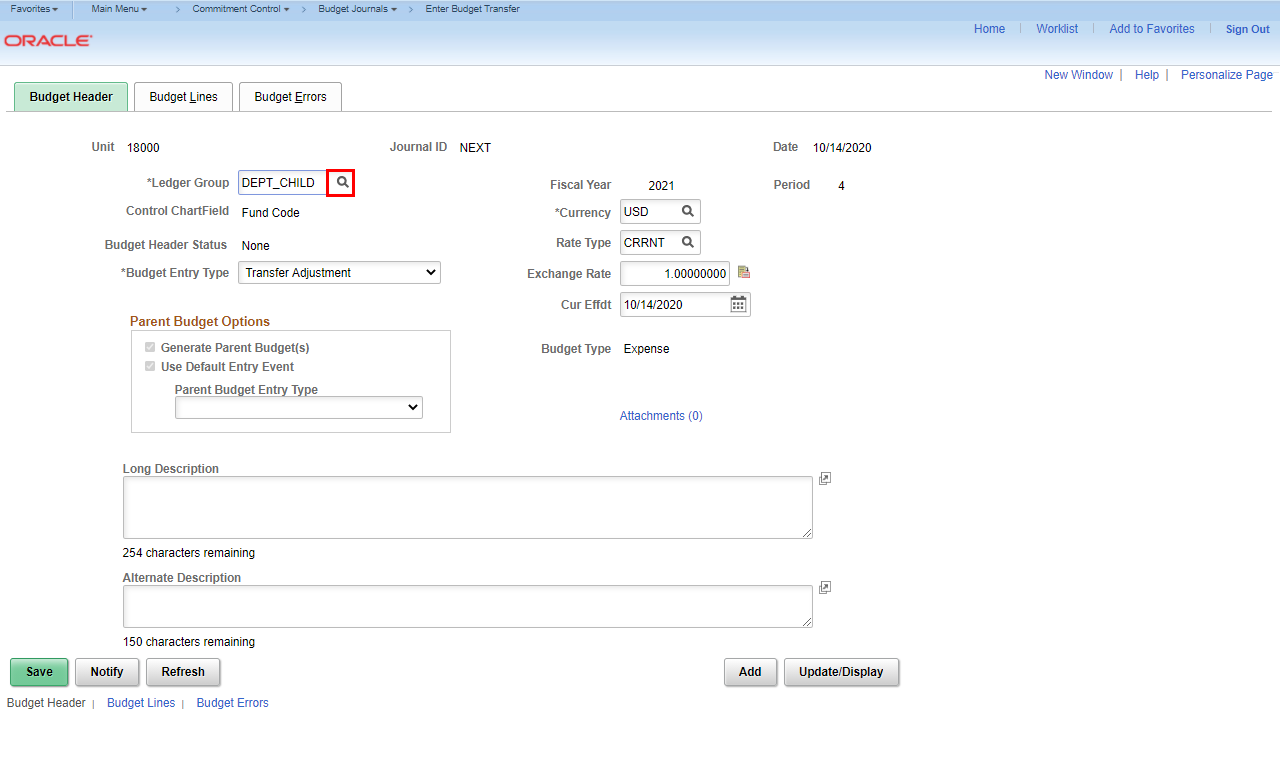 |
The Budget Header page opens for entry. The first required field is the Ledger Group to which this will be posted.
Note: This field will default to DEPT_CHILD to reflect expenditures.
Click the Ledger Group look-up magnifying glass.
|
|
 |
|
Only DEPT_CHILD (for expenditures) and DEPT_REV (for revenue) are used for budget transfers.
Select the appropriate Ledger Group.
|
|
 |
|
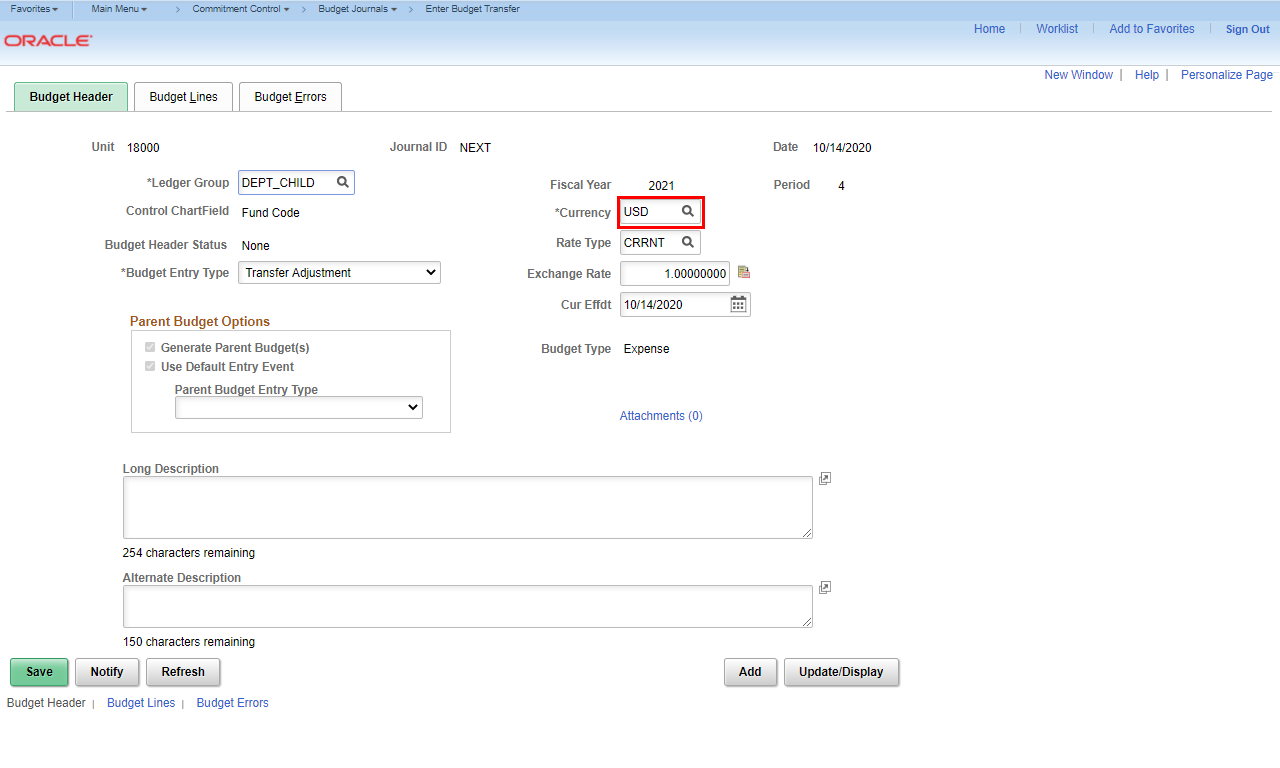
The type of Currency is also required. Verify that it is USD for US Dollars.
|
|
 |
|
Leave the defaults for the selected currency.
|
|
 |
|
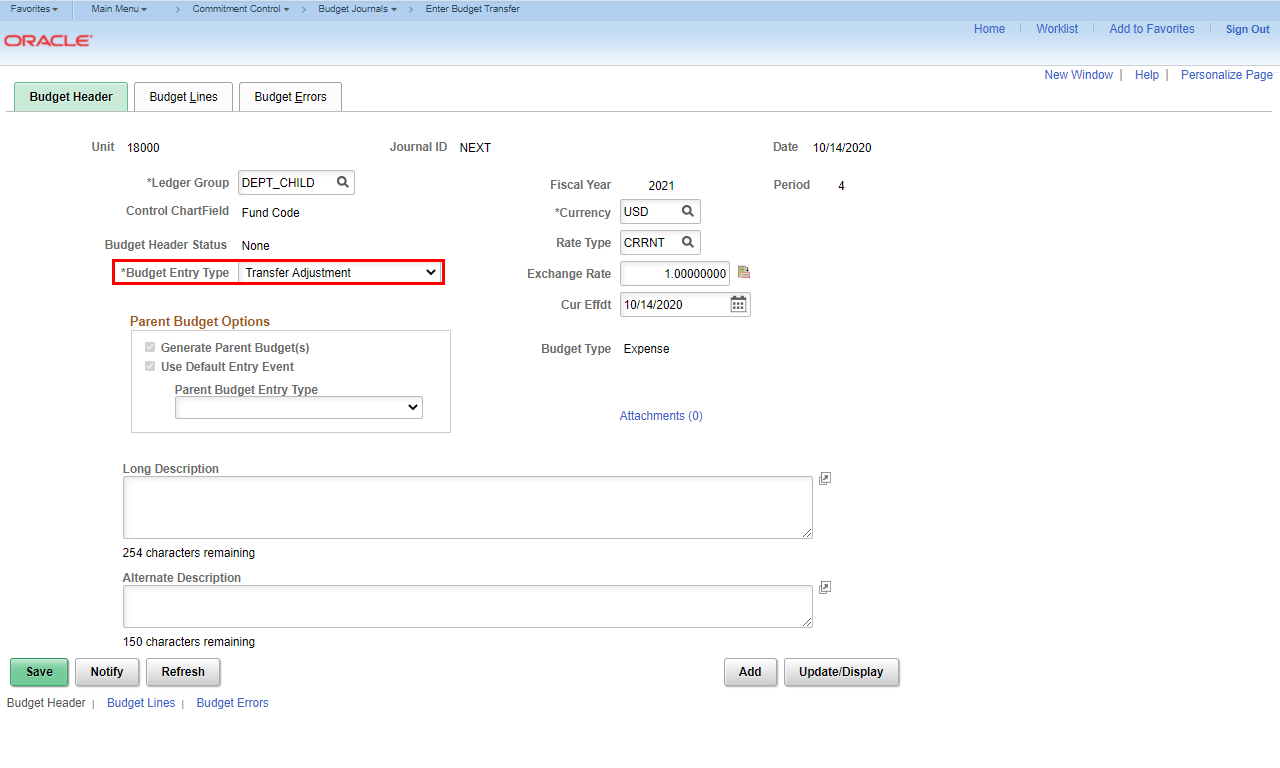
The Budget Entry Type should default to Transfer Adjustment. Verify that the correct value is displayed. This is the only value to use for Budget Transfers.
Note: The other option is Transfer Original which is only used by the Budget Office.
|
|
 |
Verify that Generate Parent Budget(s) is selected. This indicates that when you enter this budget transfer in the DEPT_CHILD ledger, you will also update the parent budget, keeping the parent budget and child budget in sync.
Click the Parent Budget Entry Type drop-down menu.
|
|
 |
The Parent Budget Entry Type should be Transfer Adjustment.
Select the Transfer Adjustment option.
|
|
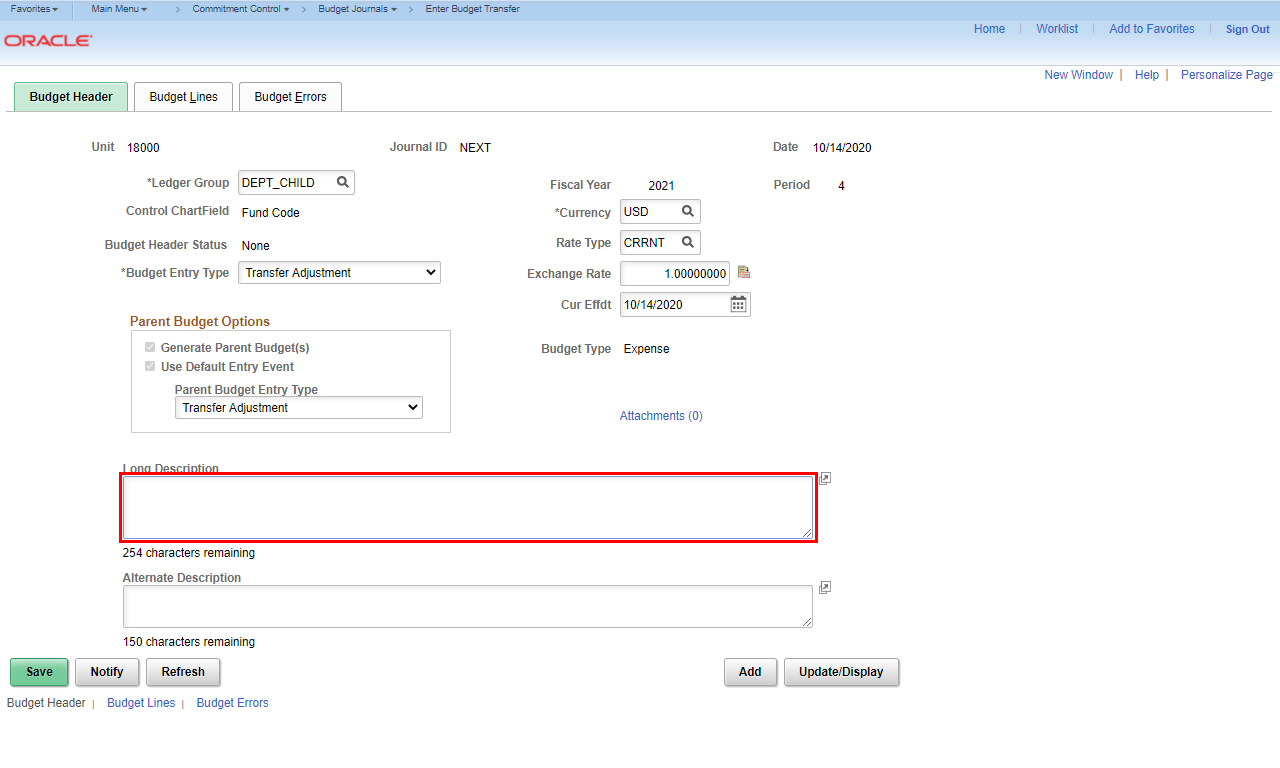 |
Enter information in the Long Description field to help identify the reason for the budget transfer. The long description is used for approver review and historical purposes to explain why the change is being made.
Example shown here: Enter "Transfer funds from operating to travel".
|
|
 |
Click the Budget Lines tab.
|
|
 |
|
The Budget Lines page is displayed. NEXT is displayed to the left of Journal ID, indicating that a number has not been assigned yet.
|
|
 |
|
You can enter a SpeedType that will populate the chartstring values for you, or you can manually enter the ChartFields.
Note: When you enter a SpeedType, the ChartFields associated with that SpeedType are copied into the appropriate fields. These can be modified, if needed.
|
|
 |
Enter appropriate information in the Account field.
Example shown here: Enter "700000".
|
|
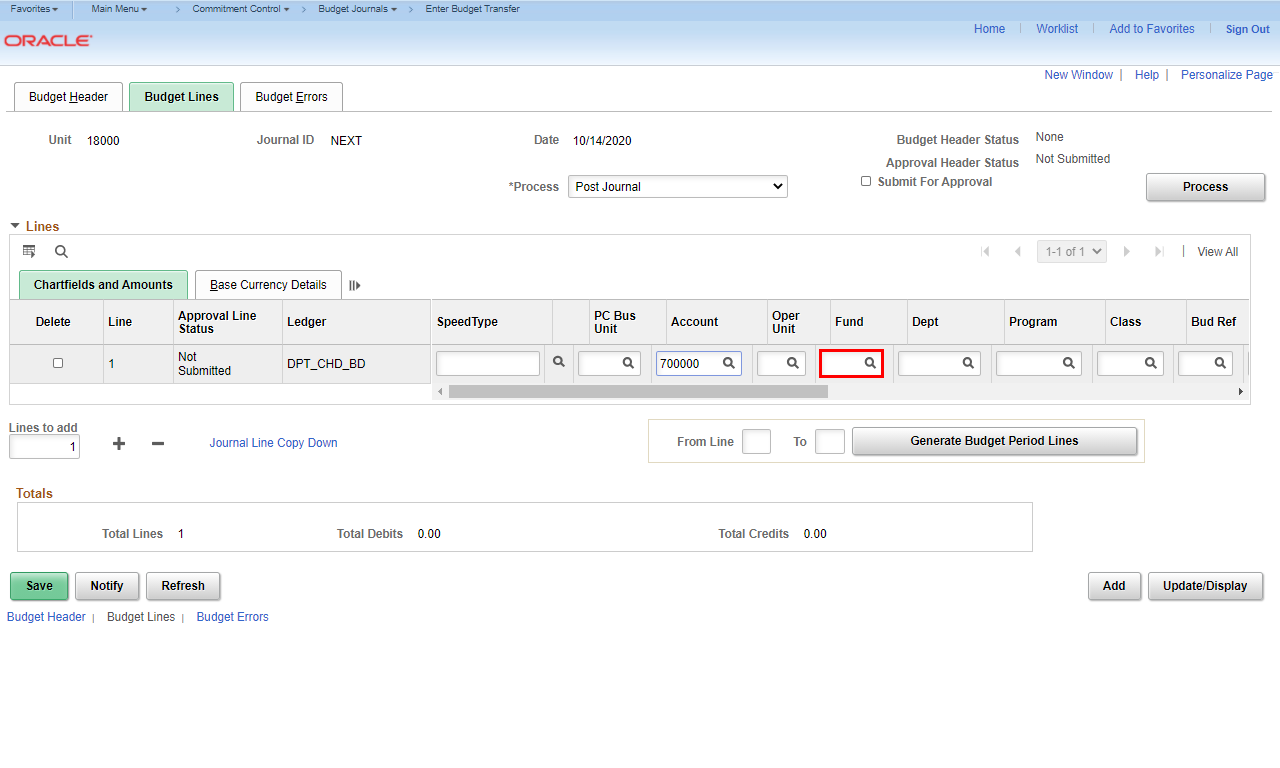 |
Enter appropriate information in the Fund field.
Example shown here: Enter "10500".
|
|
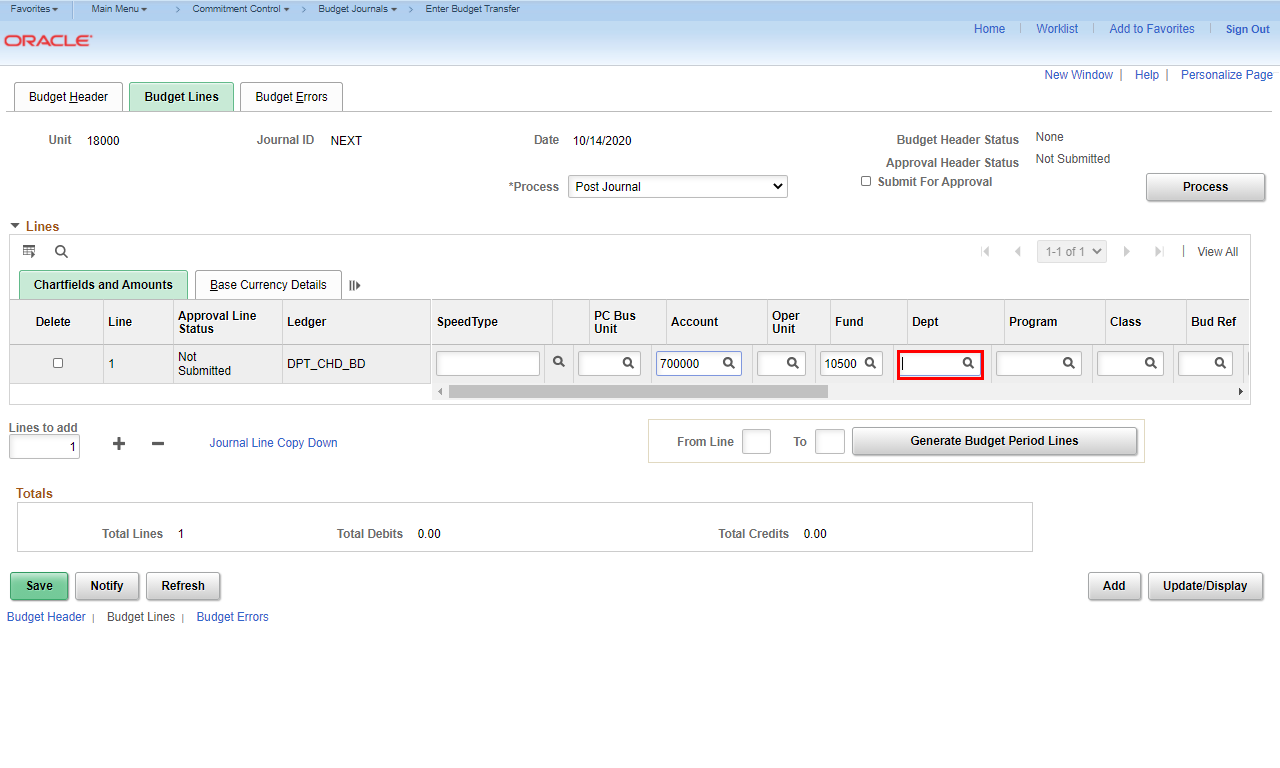 |
Enter appropriate information in the Dept field.
Example shown here: Enter "32004001".
|
|
 |
Enter appropriate information in the Program field.
Example shown here: Enter "11140".
|
|
 |
Enter appropriate information in the Class field.
Example shown here: Enter "11800".
|
|
 |
Enter appropriate information in the Bud Ref field.
Example shown here: Enter "2021".
|
|
 |
Scroll as needed to view additional fields. Amounts for budget transfers should be entered as whole dollars.
Enter the appropriate amount into the Amount field.
Example shown here: Enter "- 15000".
|
|
![The [+] Insert Lines button is highlighted.](https://uga.teamdynamix.com/TDClient/3109/FandA/Shared/FileOpen?AttachmentID=6015af4b-a3e8-4c9b-aca8-5fd2aafd7de2&ItemID=150820&ItemComponent=26&IsInline=0) |
This budget transfer journal needs to be balanced so you now need to indicate the Account that needs to be decreased.
Click the [+] Insert Lines button.
|
|
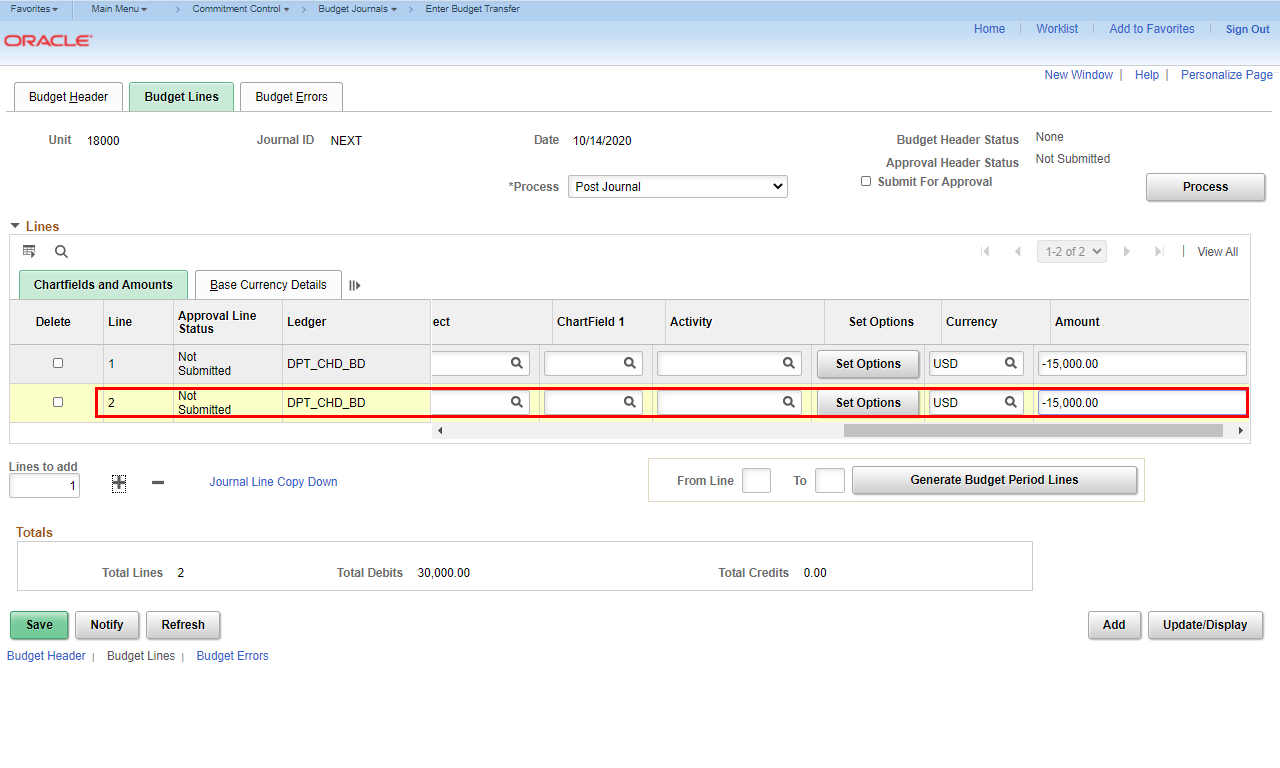 |
A second line is added with the same ChartFields and Amount as entered on the first line.
|
|
 |
Enter the Account to be decreased in the Account field.
Example shown here: Enter "640000" into the Account field.
|
|
 |
Click the Save button.
Note: The Save button can be used at any time.
|
|
 |
|
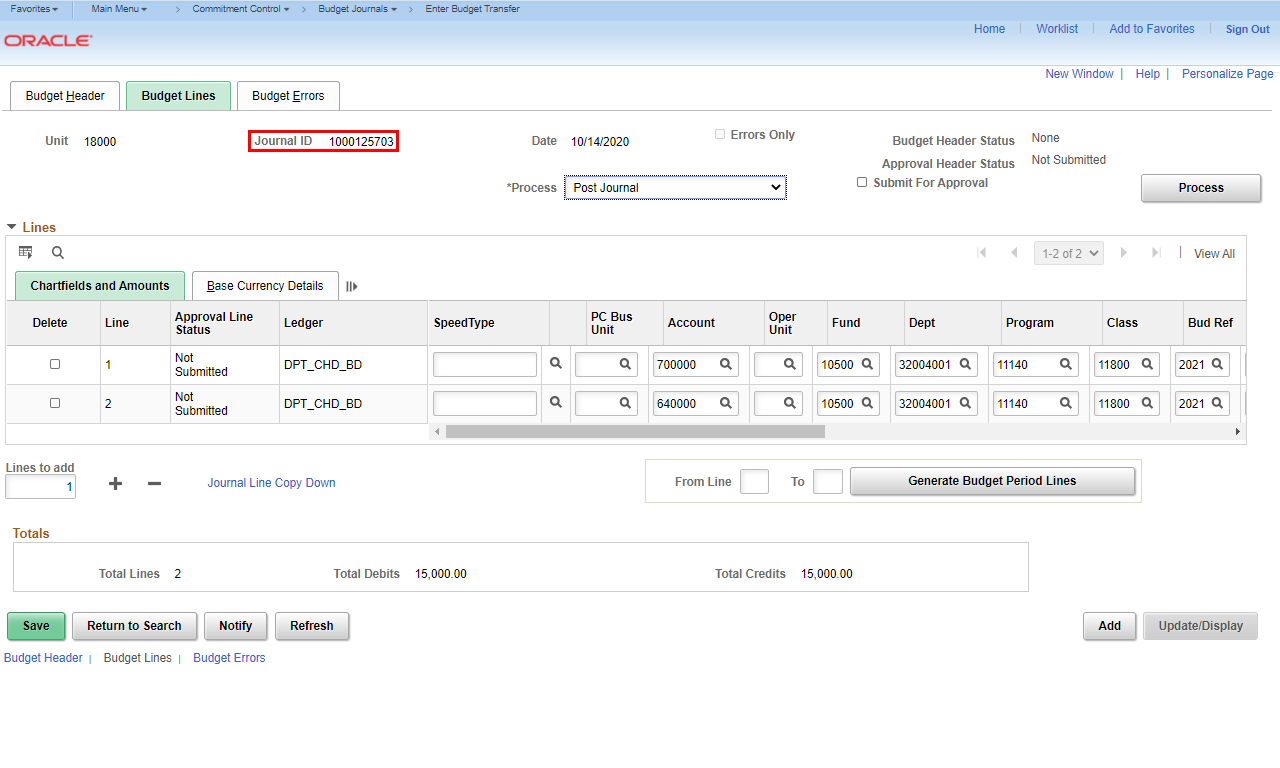
Once the Save function is used, a Journal ID is assigned and displayed.
|
|
 |
There are several processes that should be run before submitting the journal.
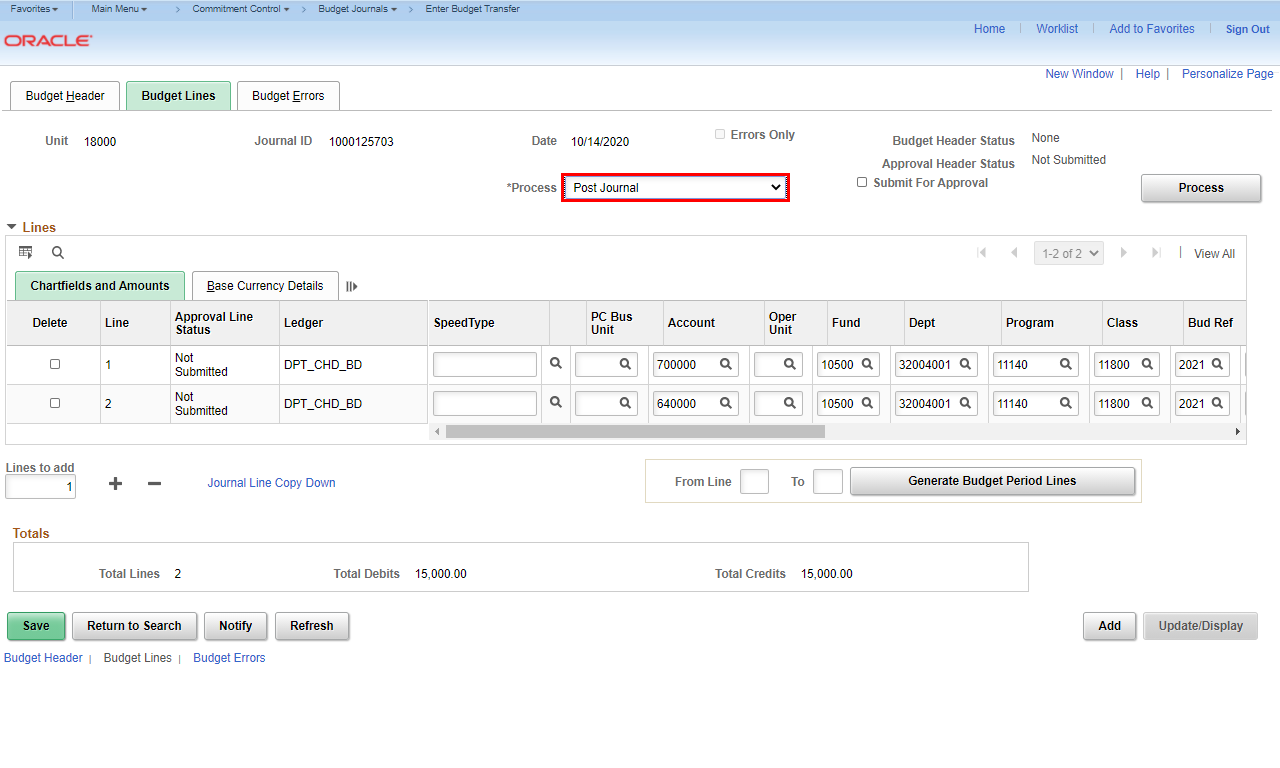
Click the Process drop-down menu.
|
|
 |
The Process drop-down menu is displayed. It is important to run the edit chartfields process to ensure the chartstrings in the journal are valid.
To validate, click the Edit Chartfields option.
|
|
 |
Click the Process button.
|
|
 |
Note: If the chartstring is invalid, an error message will appear at the bottom of the screen and the Budget Header Status will be E .
Click the Process drop-down menu.
|
|
 |
You have completed the journal entries and are ready to finalize and submit for approval.
A Budget Pre-Check should be performed to be sure that funds exist for the transfer.
Click the Budget Pre-Check option.
|
|
 |
Click the Process button.
|
|
 |
A pop-up message appears to verify that you want to do a budget check that doesn't record the results.
Click the Yes button.
|
|
 |
|
The Budget Header Status says "Checked Only." There were no error messages. This lets you know that the budget is available, but nothing has been committed to the budget ledgers.
Note: If there is an error, the Budget Header Status will show "Error". You can click the link for more information on the error.
|
|
 |
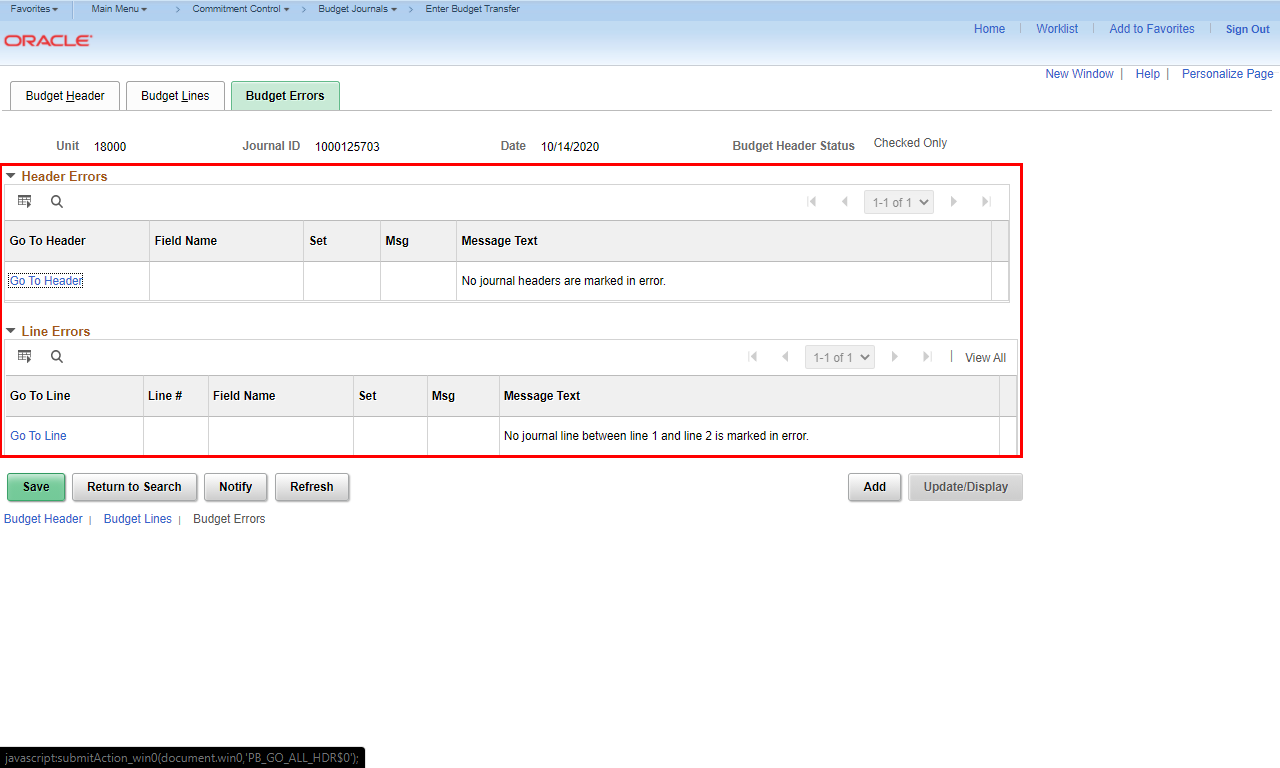
Click the Budget Errors tab.
|
|
 |
|
This page will show any Header Errors or Line Errors.
|
|
 |
Click the Budget Lines tab to return to the Budget Lines page.
|
|
 |
When the journal is free of errors, you can submit it for approval.
Click the Process dropdown list.
|
|
 |
Click the Submit Journal option.
|
|
 |
|
When you select Submit Journal, it turns on the Submit for Approval checkbox.
|
|
 |
You must run the process before the journal is actually submitted to workflow.
Click the Process button.
|
|
 |
The Approval Header Status will change to Pending once the transfer is successfully submitted for approval.
Click the Pending link.
|
|
 |
The Approval Flow window will display. This shows the path of approvals.
Click the Multiple Approvers link.
|
|
 |
The list of the approvers in the pool is displayed.
Click the Close button.
|
|
 |
|
You are returned to the Budget Lines tab.
|
|