Requesting a Temporary Alternate Approver
Summary
In this article, you will learn how to request a temporary alternate approver.
Body
Overview
If you are an approver and cannot perform your approval responsibilities for a temporary period of time, you may request an alternate approver to act in your place for a period of time.
In order to enter the information for the request you need to know the following:
- The name and MyID of the alternate you want to request.
- The start and end dates for that person to assume your duties.
You can request an alternate yourself using the instructions in this topic.
The Alternate Request Approval page is found on the System Access Resource Page. Use the same form to remove the responsibilities when you return.
Tutorial Resources
Temporary Approvers Quick Start
In this article, you will learn how to request a temporary alternate approver.
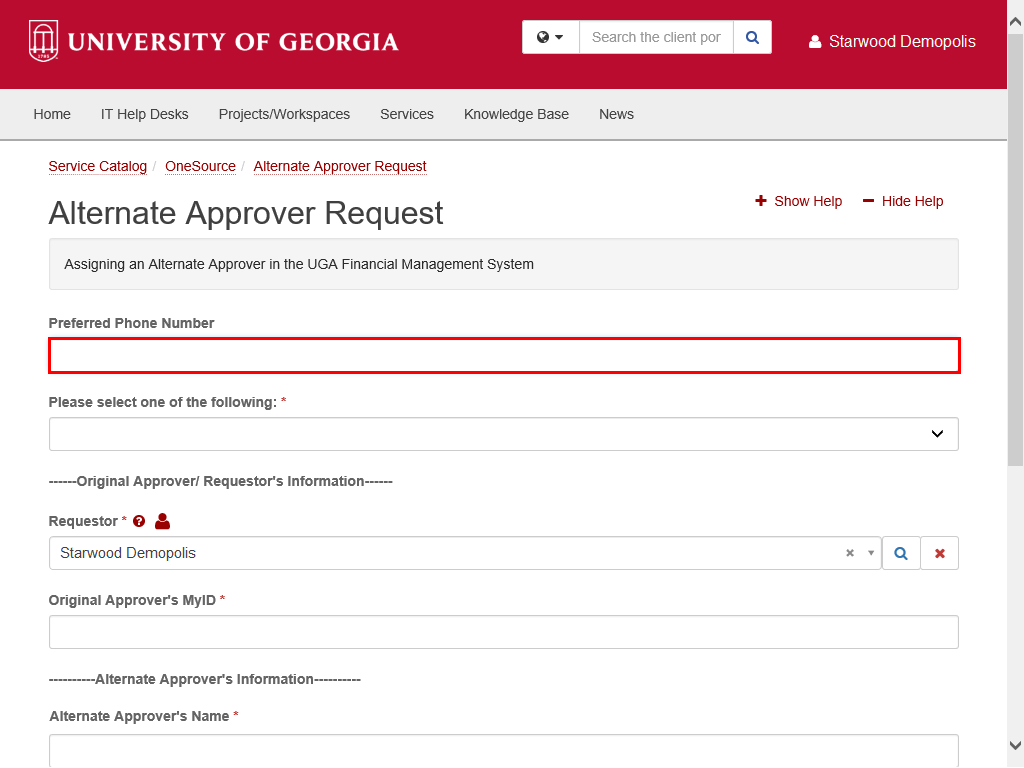 |
Enter your phone number. This number will be used to notify you if there are any questions about your request.
Enter appropriate information into the Preferred Phone Number field.
Example shown here: " 7065559876 " in the Preferred Phone Number field.
|
|
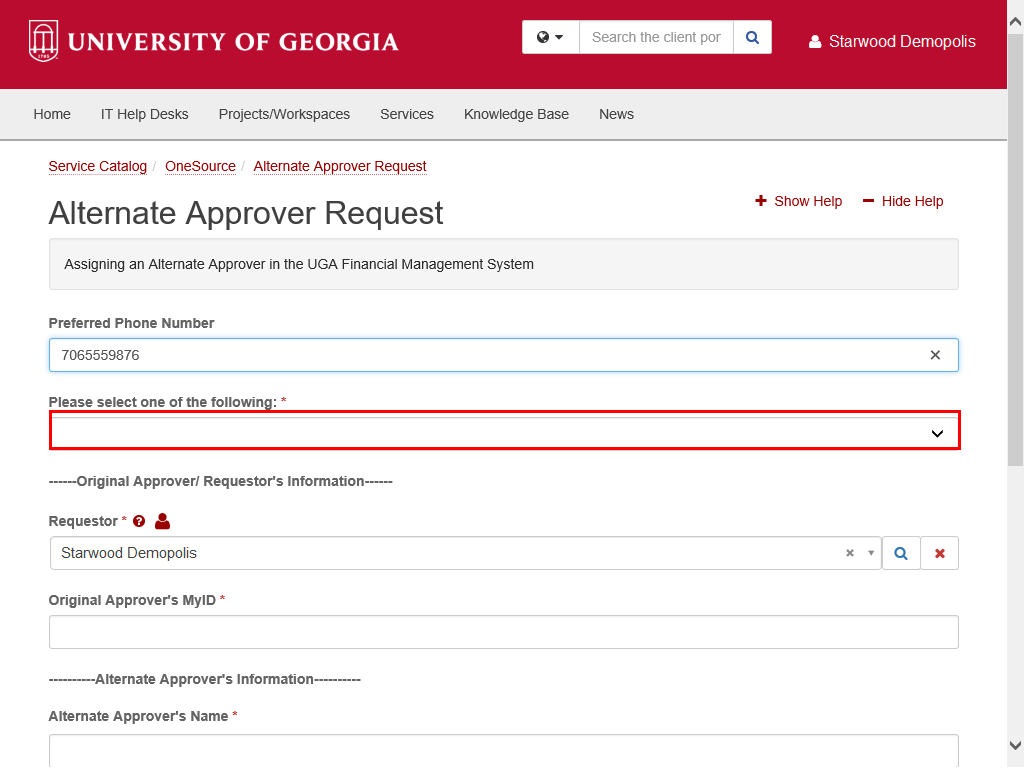 |
You are now ready to start your request.
|
|
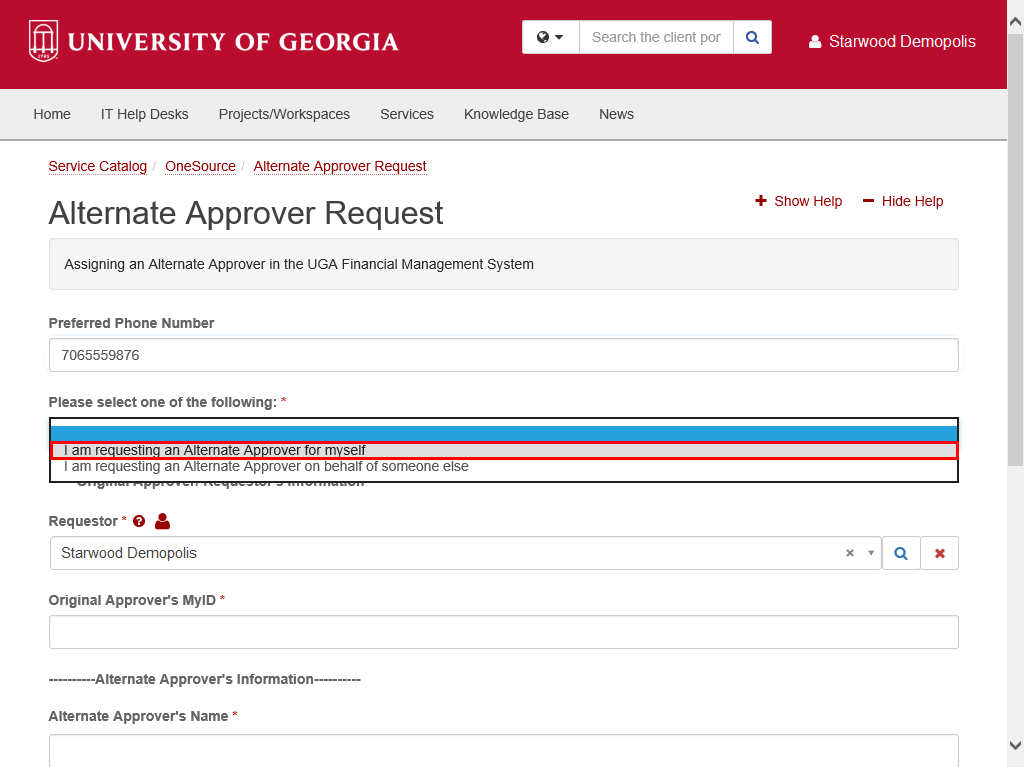 |
You have the option to request an alternate approver for yourself or on behalf of someone else.
|
|
 |
|
Your name should automatically default as the Requestor.
|
|
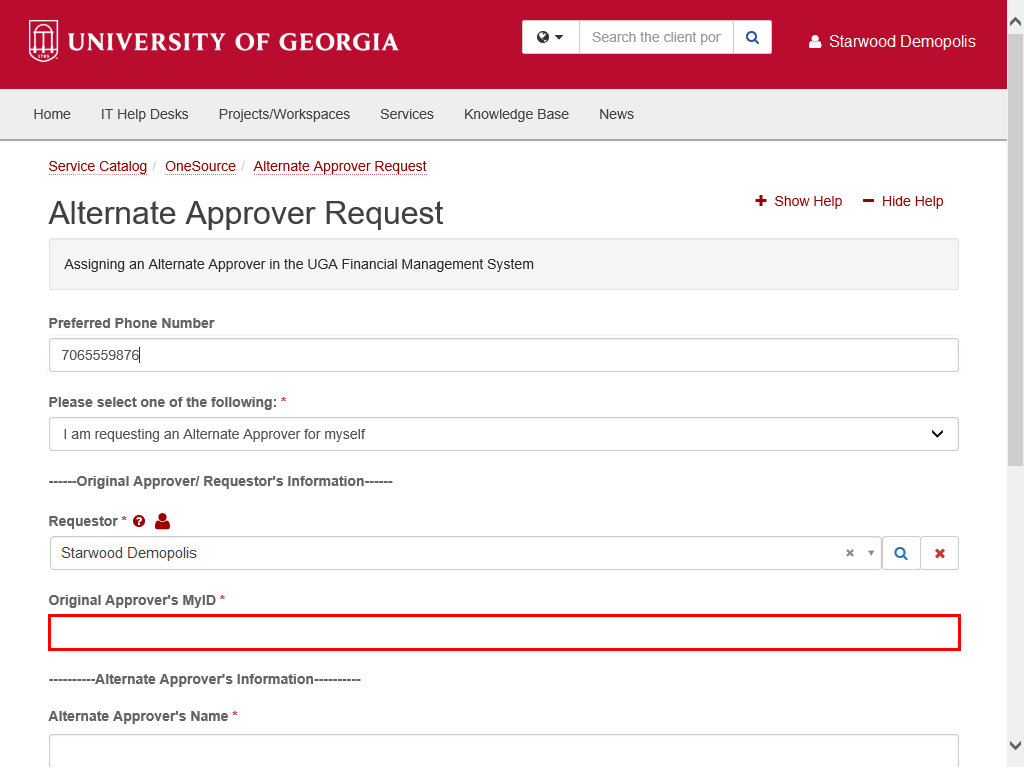 |
Since you are requesting an approver for yourself, type in your MyID.
Enter appropriate information into the Original Approver's MyID field.
Example shown here:" sam99999 " in the Original Approver's MyID field.
|
|
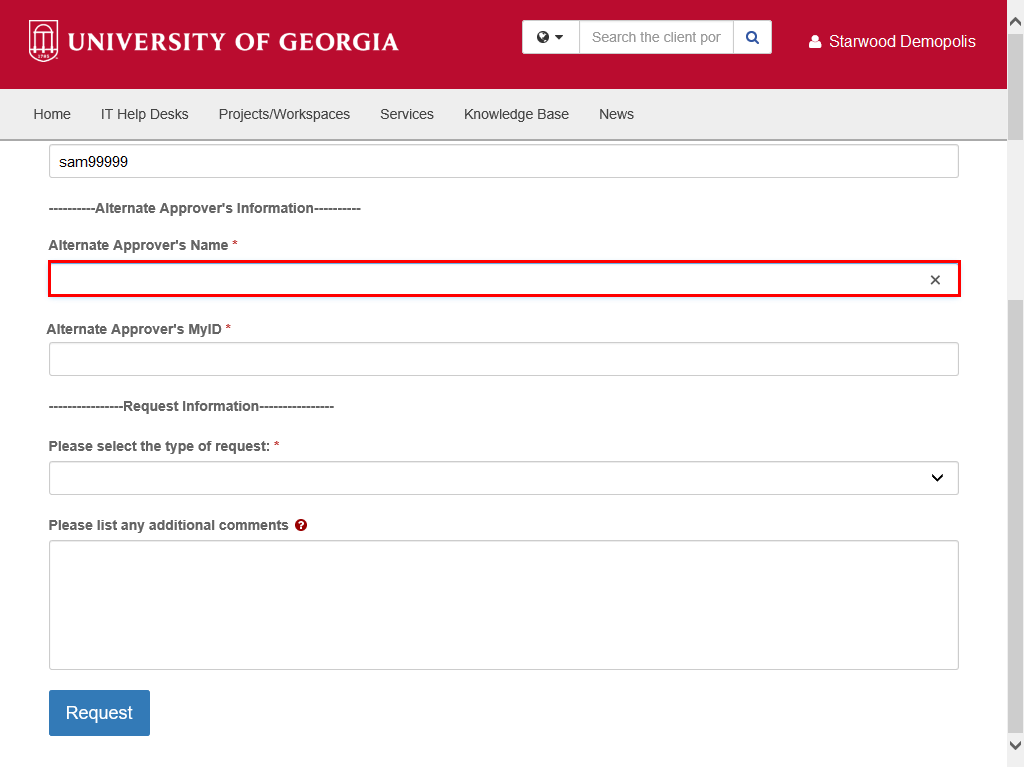 |
The Alternate Approver's Information section provides fields to enter details for your alternate approver.
Enter appropriate information into the Alternate Approver's Name field.
Example shown here: " Sunny Day " in the Alternate Approver's Name field.
|
|
 |
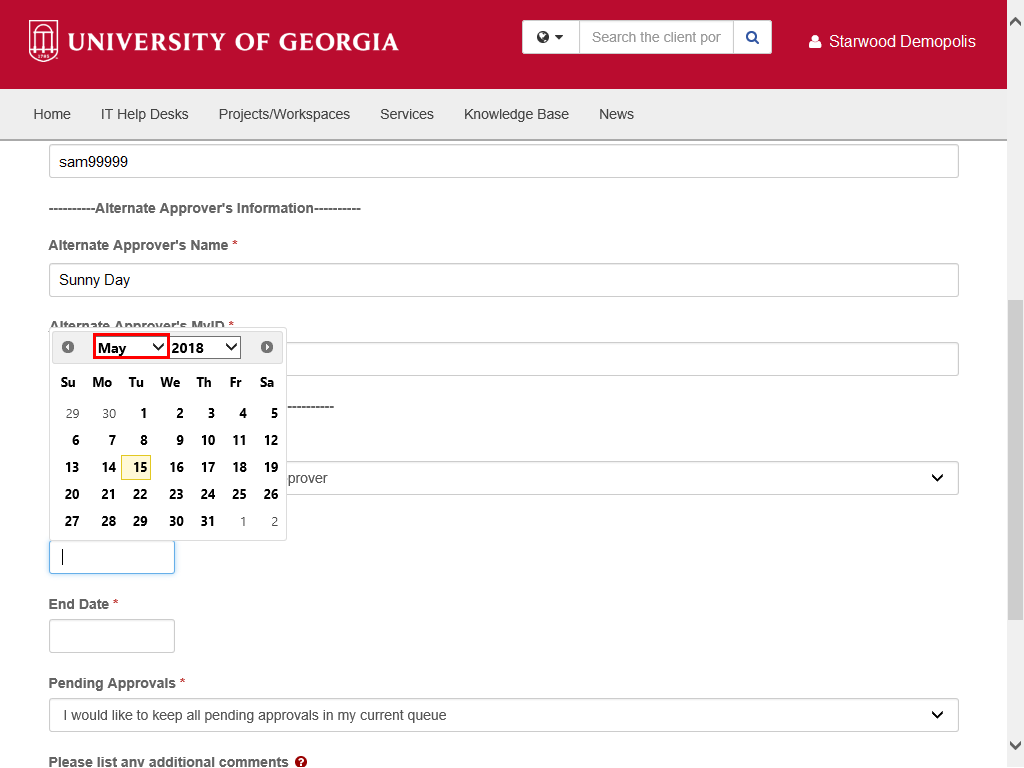
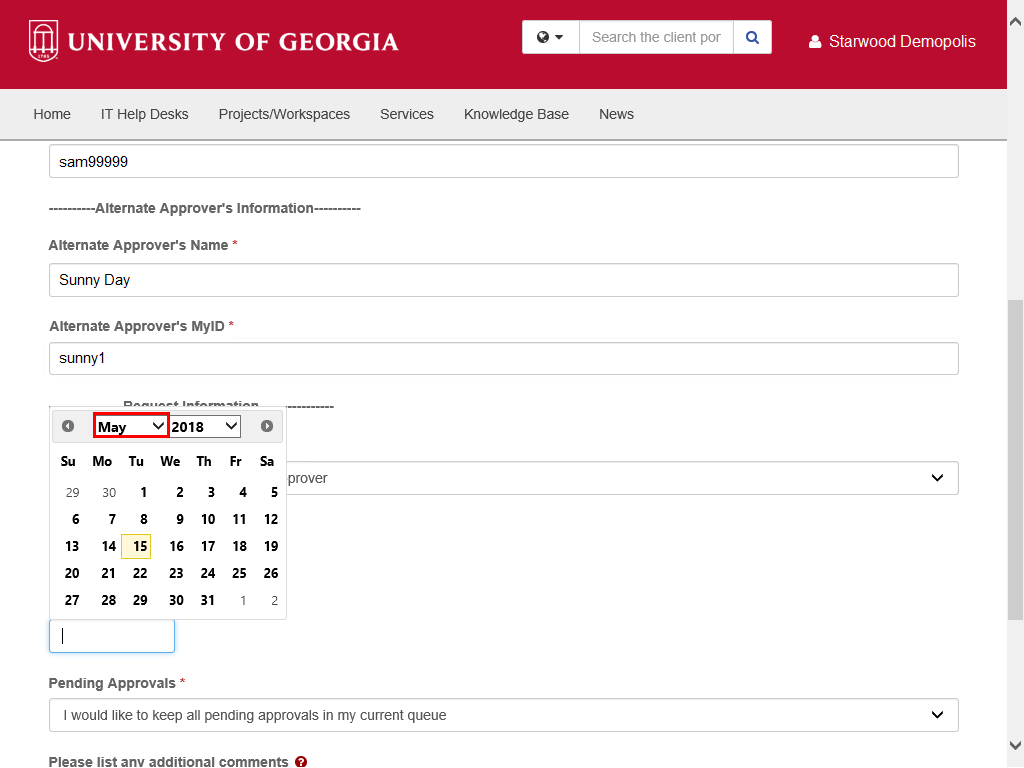
Enter the MyID of your selected alternate approver.
Enter appropriate information into the Alternate Approver's MyID field.
Example shown here: " sunny1 " in the Alternate Approver's MyID field.
|
|
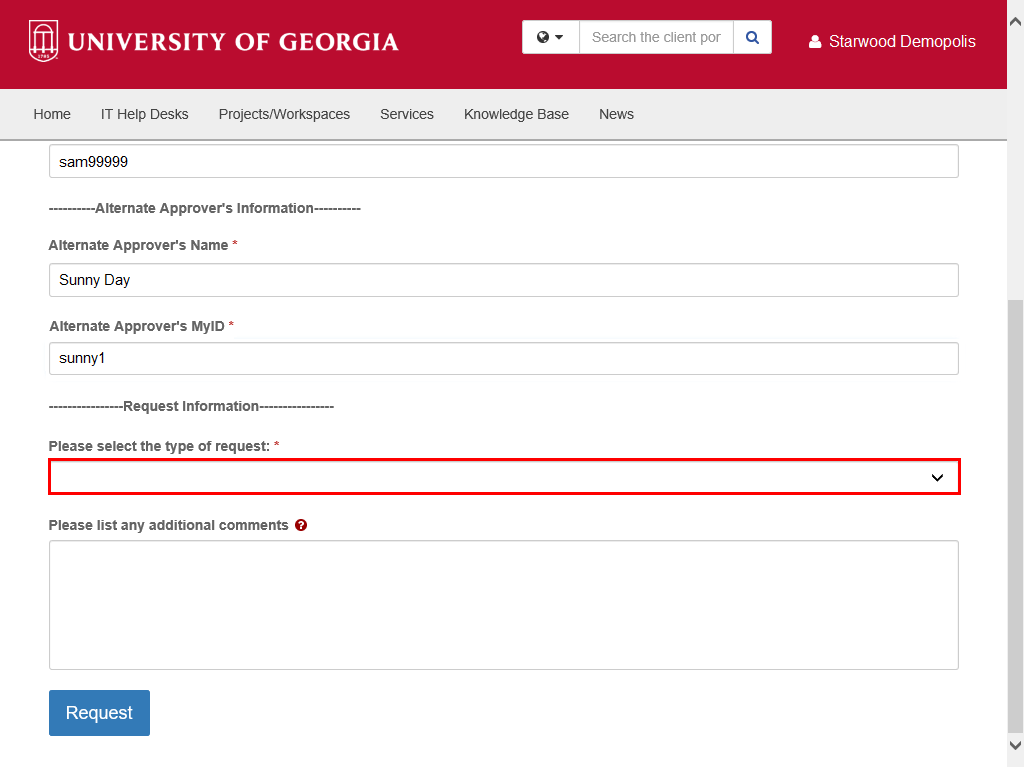 |
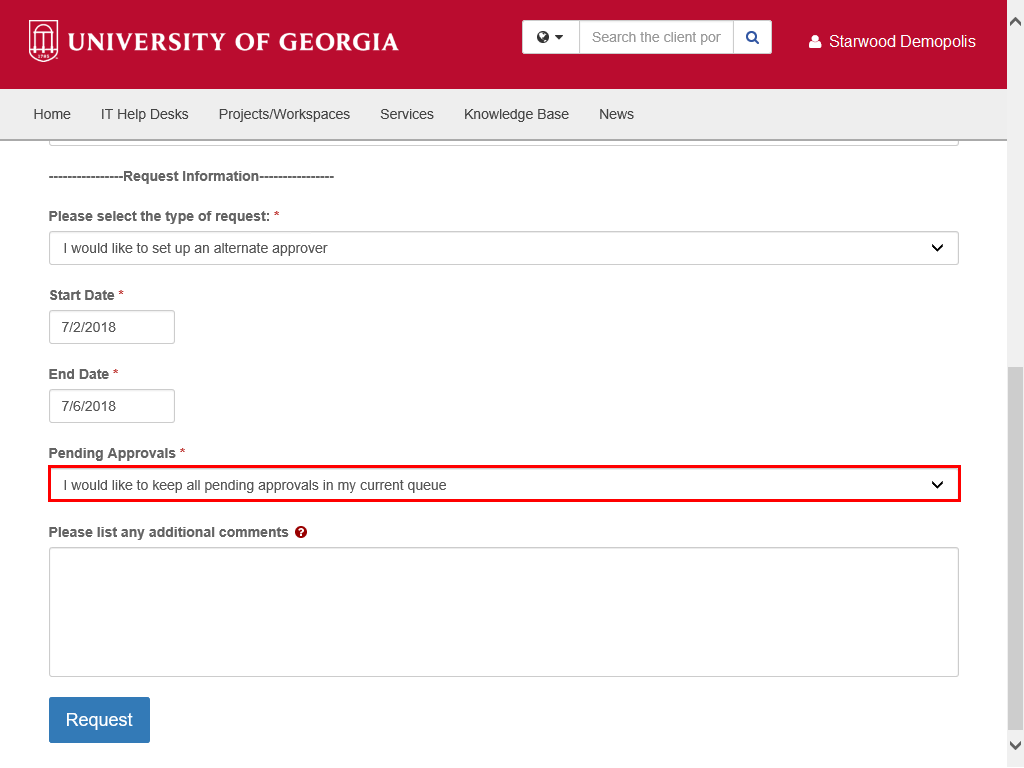
Use the options in the Request Information section to determine the responsibilities the alternate approver will assume.
|
|
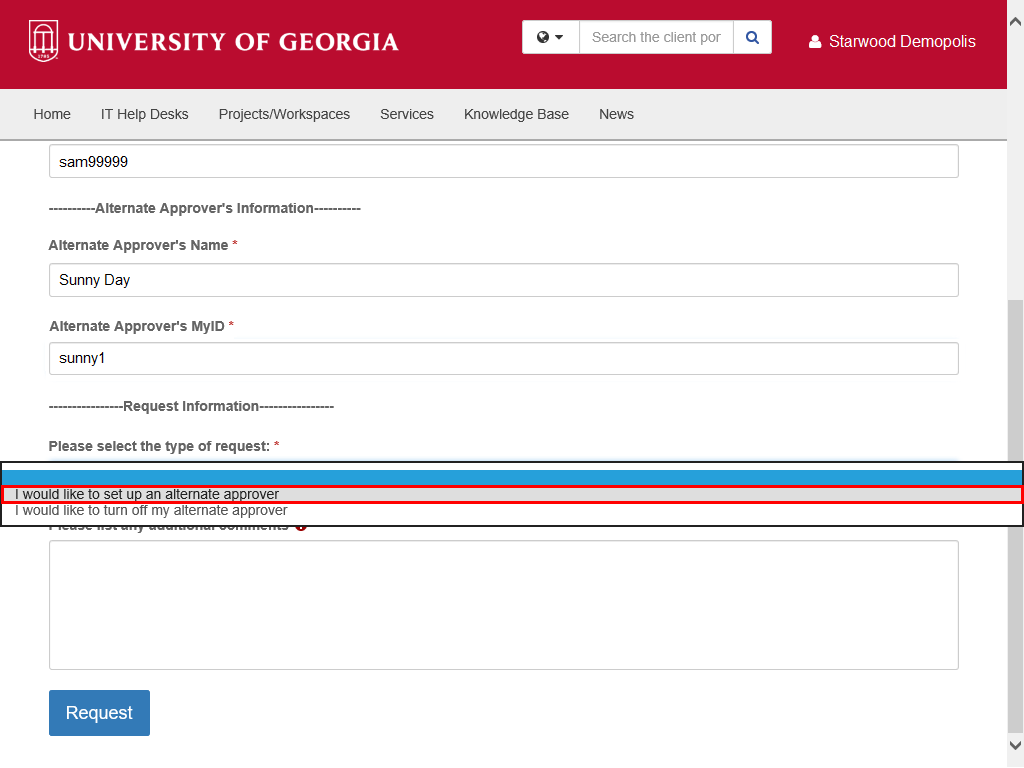 |
The type of request drop-down allows you to set up a temporary alternate approver.
When you return, you will use this field to turn off the temporary assignment and take back your approval responsibility.
|
|
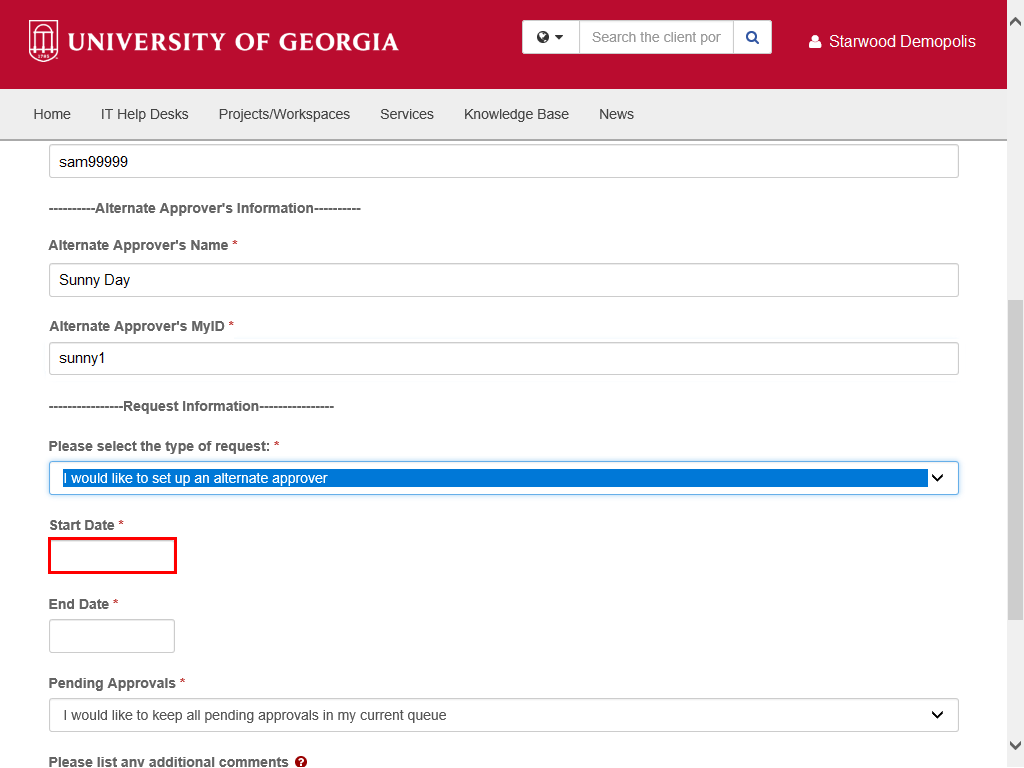 |
Enter the date the temporary assignment will start. Open the calendar.
|
|
 |
|
Use the calendar to enter the date the delegated approvals will start.
You may choose to type the date. If so, be sure it is in mm/dd/yyyy format.
|
|
 |
|
Use the calendar in the End Date field.
Remember you can also type in the date using a mm/dd/yyyy format.
|
|
 |
Once you have selected the dates, complete the request.
|
|
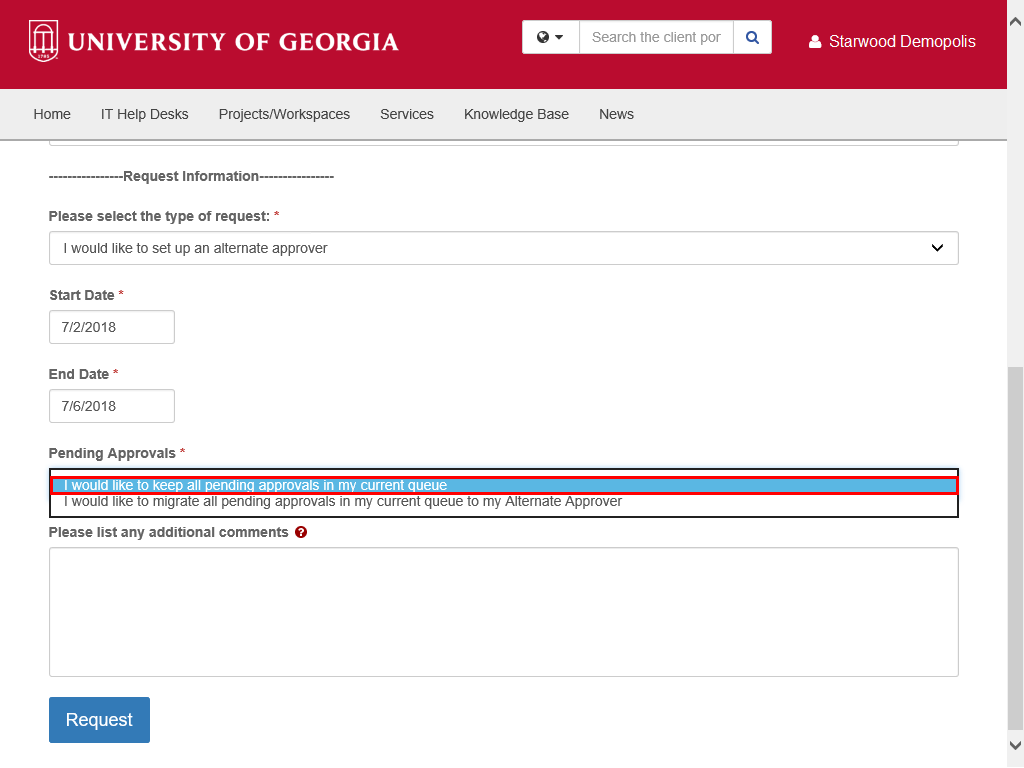 |
Designate the documents you are giving to your alternate to approve. You have the choice to keep those that are already pending or migrate all the pending approvals.
|
|
 |
Enter any additional comments or information that the security team may need to know. This field is optional.
Enter appropriate information into the Please list any additional comments field.
Example shown here: " Out of Office. Unavailable by phone. Please contact Julie Smith 2-0000 with questions. " in the Please list any additional comments field.
|
|
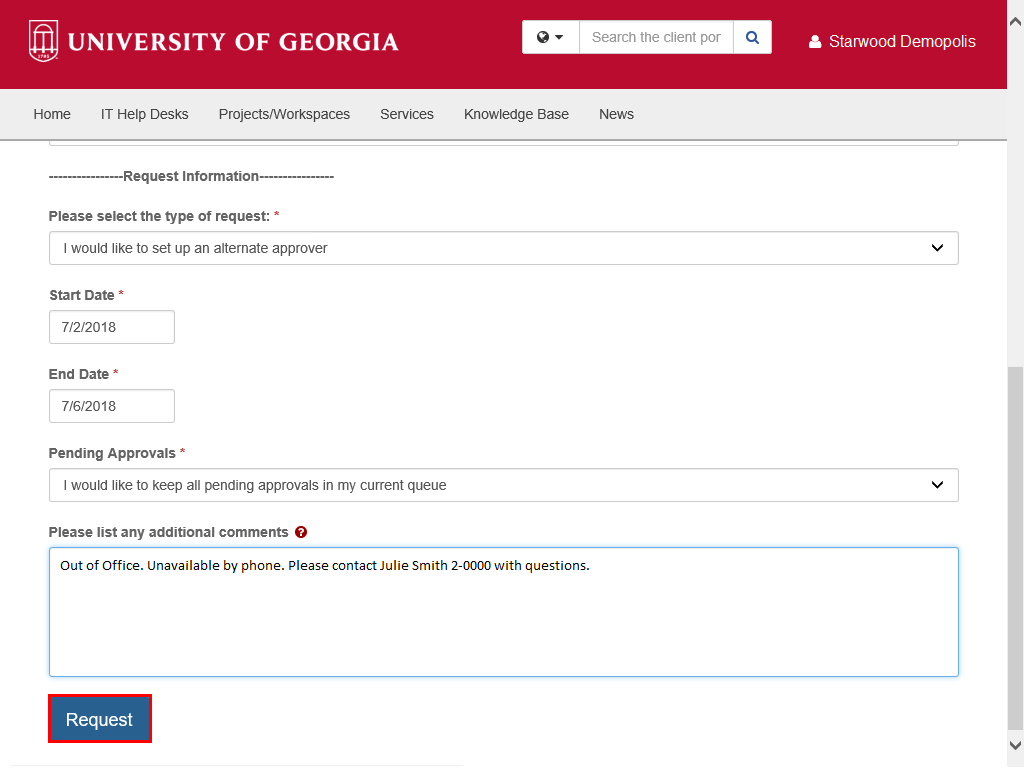 |
Click the Request button.
|
|
 |
|
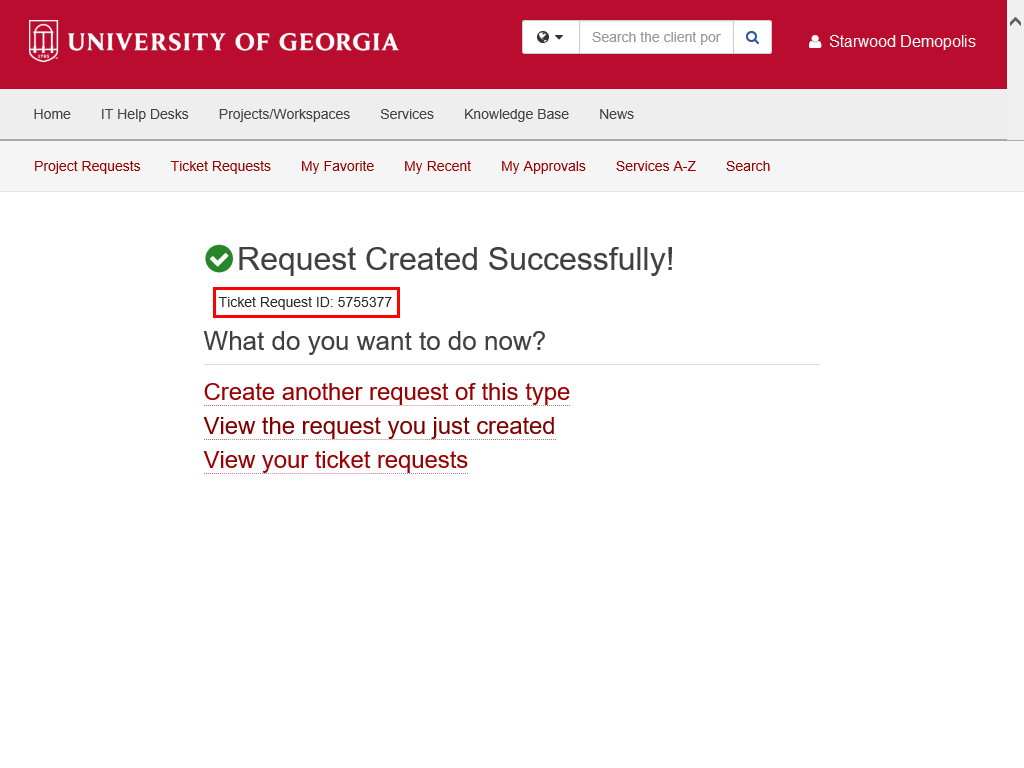
A new page is displayed to let you know the request has been successfully created and to provide the Ticket Request ID assigned to the request.
Additional links are provided to continue to work on Alternate Approver requests.
|
|
Details
Details
Article ID:
150269
Created
Sat 9/24/22 11:38 PM
Modified
Thu 4/2/26 4:42 PM