Printing a Budget Transfer
Summary
In this article, you will learn how to print a budget transfer transaction.
Body
Overview
You print a budget transfer from the Enter Budget Transfer pages on the Classic menu where the original transaction was entered. There is no process to print. You need to use your browser's print features or your operating system shortcut, [CTRL+P] to print the document. You can print a transfer in any status. In this article, you will learn how to print a budget transfer transaction.
NOTE: Transactions entered through the Budget Transfer page can only be accessed through the Budget Transfer page, and those entered on the Budget Journal page can only be access through the Budget Journal page. If the transaction you need is not shown in the search results, it may have been entered as a Budget Journal that will have to be accessed through the Budget Journal page. See Knowledge Base article Printing a Budget Journal.
 |
Reorganize the menu list into alphabetical order to make it easier to find the Commitment Control menu.
|
|
 |
Use the following navigation to find the Enter Budget Transfer pages.
Main Menu > Commitment Control > Budget Journals > Enter Budget Transfer
Click the Enter Budget Transfer menu.
|
|
 |
To look for existing budget transfer transactions, click the Find an Existing Value tab.
|
|
 |
Clear any existing search criteria.
|
|
 |
Business Unit is required to search.
Enter appropriate information into the Business Unit field.
Example shown here: enter "18000" into the Business Unit field.
|
|
 |
The quickest way to retrieve a journal is to enter the Journal ID. If you do not know the Journal ID, you can use other Search Criteria to locate it.
Enter appropriate information into the Journal ID field.
Example shown here: enter "1000000066" into the Journal ID field.
|
|
 |
| Click the Search button. |
|
 |
To print the Budget Header page, use your browser print features or operating system shortcuts.
Press [Ctrl+P] to print.
|
|
 |
The print window is displayed. Select the appropriate printer and click the Print button.
Note: To ensure that the entire page prints, you may need to adjust your print settings to shrink the page or change the page orientation.
|
|
 |
You can also print any attachments.
|
|
 |
The Budget Journal Attachments page is displayed.
Click the File Name hyperlink for the attachment you want to print.
|
|
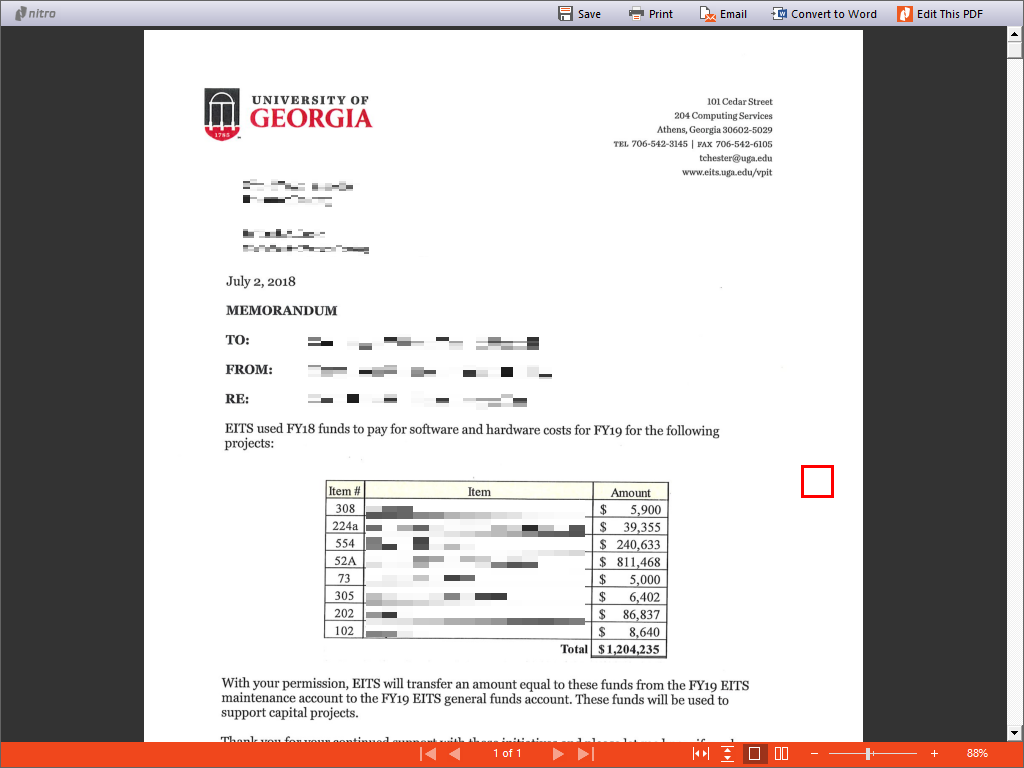 |
A new tab opens and displays the pdf copy of the attachment.
Use the controls in the pdf viewer or press [CTRL+P] to print the page.
Press [Ctrl+P] to print the page.
|
|
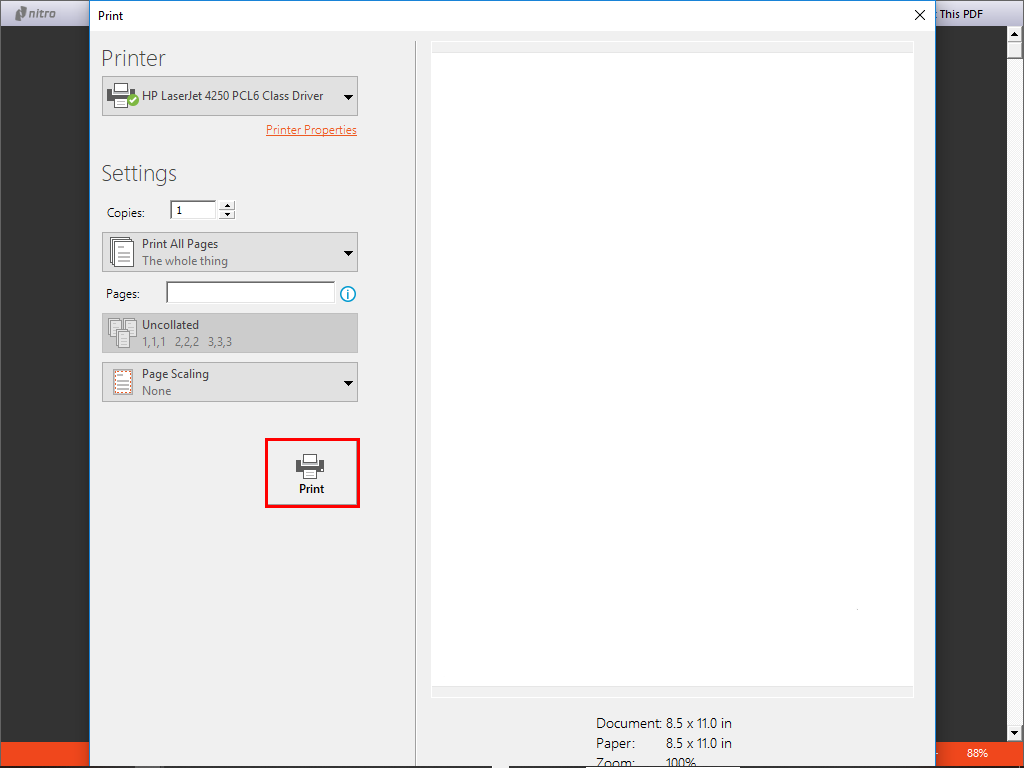 |
The Print window is displayed.
Select the appropriate printer and click the Print button.
|
|
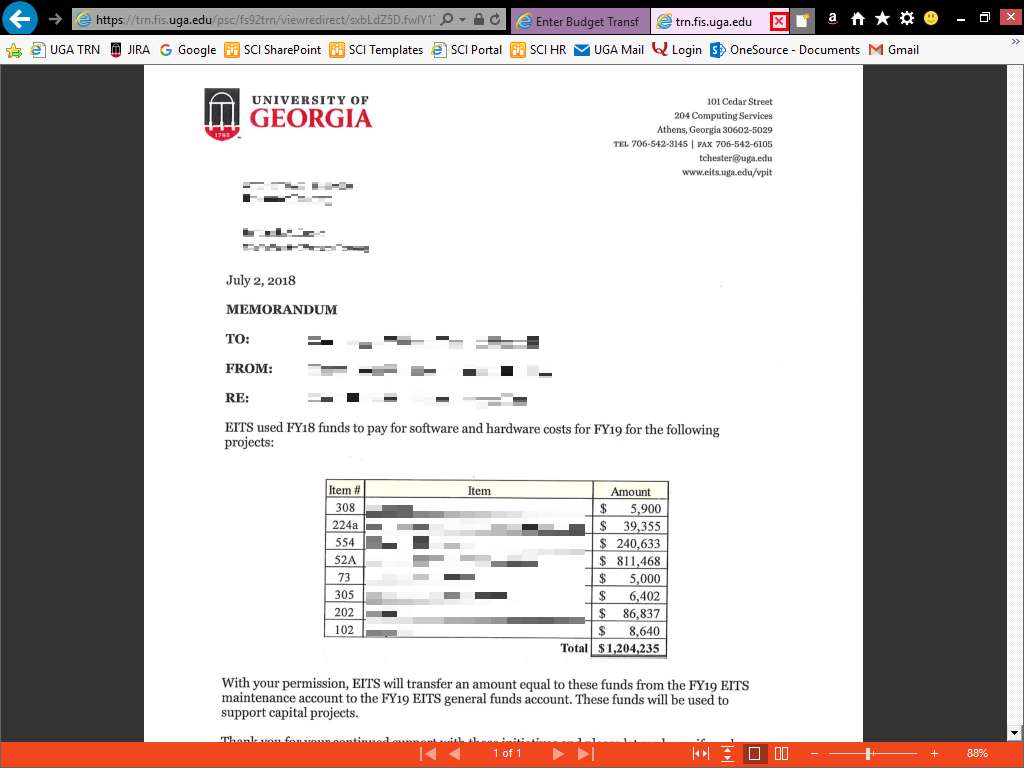 |
Close the window after printing.
|
|
 |
Close the Budget Journal Attachments page.
|
|
 |
You may also want to print the Budget Lines page for the chartstring information.
|
|
 |
|
The Budget Lines page contains a lot of information. You may want to personalize the page by removing ChartFields not used.
Note: If you personalize the page, all Budget Transfer pages will be displayed in this format until it is changed again.
You can also use your browser zoom features or press [CTRL+-] to zoom in to see the entire page.
|
|
 |
Press [Ctrl+P] to print the page.
|
|
 |
The Print window is displayed.
Select the appropriate printer and click the Print button.
|
|
Details
Details
Article ID:
148621
Created
Sat 9/24/22 10:49 PM
Modified
Tue 7/28/26 3:59 PM